A Grout Restoration Success Story Worth Seeing
A grout restoration success story rarely begins with a floor that looks beyond help. More often, it starts with a homeowner or property manager looking at dull, dark grout lines and assuming replacement is the only answer. In many cases, the tile itself is still in good condition. The real issue is years of embedded soil, moisture, residue, and foot traffic hiding the floor’s original appearance.
For a West Hawaii home or vacation property, that buildup can happen faster than expected. Sand, red dirt, pool water, cooking oils, sunscreen, humidity, and daily traffic all find their way into textured grout. Regular mopping helps with surface soil, but it cannot always reach what has settled below the surface.
When a Tile Floor Started Looking Worn Out
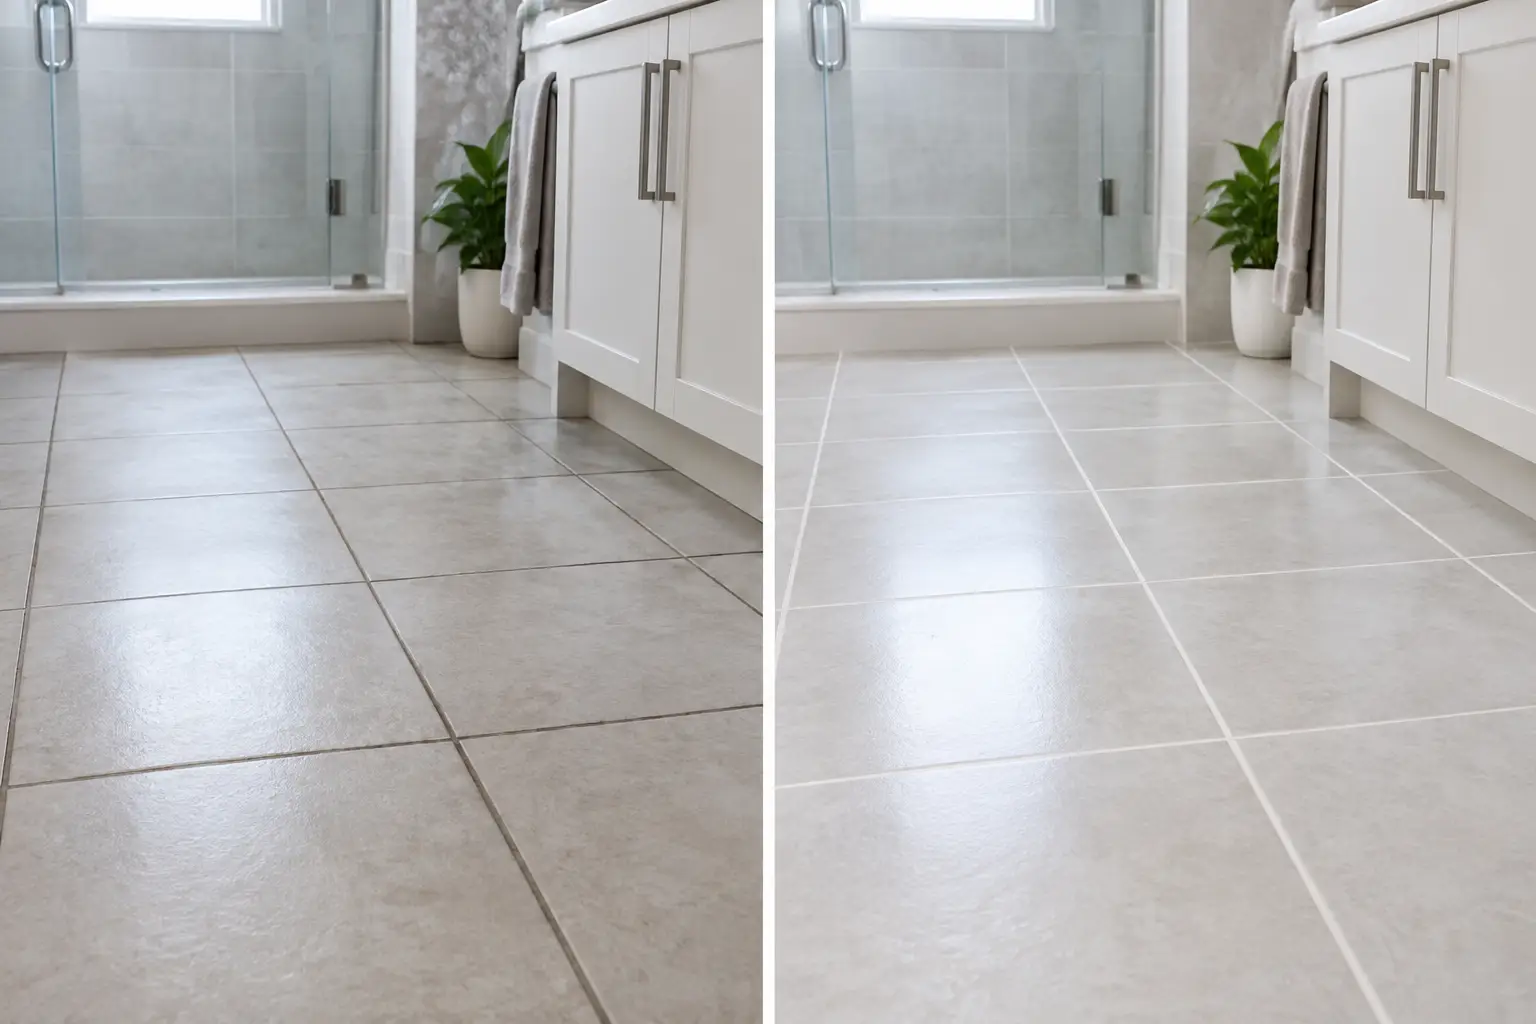
Consider a common situation: a light-colored tile floor in a busy kitchen and adjoining living area. The tile was structurally sound, with no major cracks or loose sections, but the grout had gradually changed from a warm beige to a blotchy gray-brown. The contrast made the entire floor look old, even after it had been mopped.
The owner had tried store-bought cleaners, brushes, and repeated scrubbing. Some areas looked a little better for a day or two, while others remained dark. Worse, certain cleaners left a sticky residue that attracted more soil. The effort was real, but the results did not match it.
This is where an honest inspection matters. Not every dirty grout line can be restored to a brand-new appearance. Grout can be permanently stained, damaged by harsh chemicals, cracked, or affected by moisture issues beneath the tile. A professional should explain what can realistically be improved before promising a dramatic change.
In this case, the grout was intact. It was heavily soiled and discolored, but it was a strong candidate for restoration rather than replacement.
The Difference Between Cleaning and Restoring Grout
A mop cleans the surface. Grout restoration focuses on the material inside the grout lines.
Because grout is porous, it holds onto fine dirt, oils, mineral deposits, and residues that ordinary cleaning leaves behind. The goal is not simply to make the floor smell fresh or look temporarily wet and brighter. It is to break down the buildup, remove it with the right equipment, and reveal the grout’s truer color without harming the surrounding tile.
The process usually begins with identifying the floor type and condition. Ceramic and porcelain tile can often tolerate methods that would be inappropriate for natural stone. Stone surfaces need specialized care because acidic or overly aggressive products may etch or dull them. The condition of the grout, the previous products used on it, and the reason for discoloration all affect the approach.
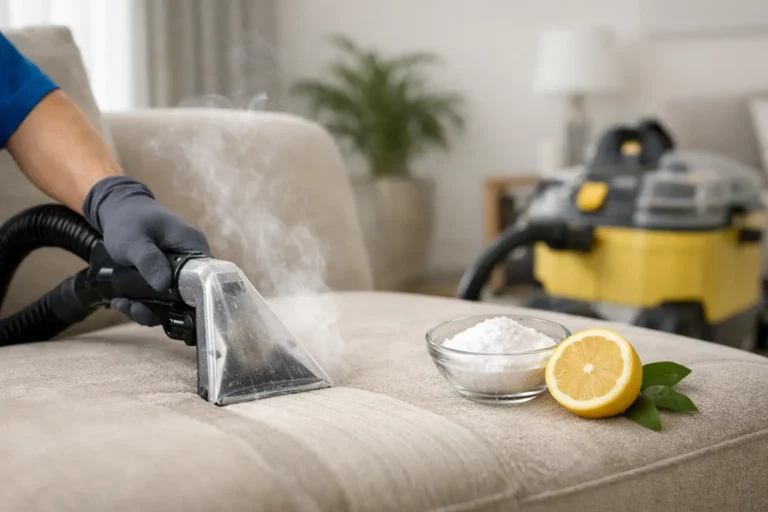
For this floor, a technician would first apply a professional-grade cleaning solution suited to the tile and grout. After allowing it time to work on the embedded soil, the grout lines receive targeted agitation. Then powerful extraction removes the loosened grime and cleaning solution rather than spreading it around with a mop.
That extraction step is often what homeowners notice most. Instead of dirty water drying back into the grout, it is removed from the floor. The difference can be striking, especially along traffic paths, in front of appliances, and near exterior doors.
What Made This Grout Restoration Success Story Different
The visual transformation was not the result of one miracle product. It came from using the right sequence of inspection, chemistry, agitation, and extraction.
As the soil lifted, the grout lines became more even in color. The tile edges looked sharper. Areas that had blended into a dark, uneven grid began to look clean and intentional again. The room felt brighter because the floor no longer absorbed so much light.
Just as important, the floor did not need to be torn out. Avoiding replacement meant avoiding demolition dust, disposal costs, installation delays, and the challenge of matching existing tile. For a homeowner, that can be a practical financial win. For a vacation rental or commercial space, it can also mean less downtime.
There are trade-offs, of course. Restoration cannot correct loose tile, deep chips, widespread cracked grout, or a failed installation. If moisture is coming from below the tile, cleaning the surface will not solve the source of the problem. And if grout has been permanently altered by bleach, dyes, or years of improper chemicals, color sealing may be the better option after cleaning.
Still, when the underlying floor is sound, restoration offers a meaningful middle ground between routine mopping and full replacement.
Why Grout Gets Dirty Again So Quickly
Many people are disappointed when grout darkens soon after they have cleaned it themselves. The reason is usually not a lack of effort. It is that dirt settles into pores that are hard to reach, and some cleaning products leave residue behind.
In coastal and high-traffic properties, fine grit can act like sandpaper under shoes. Kitchen floors collect oil mist and food residue. Bathrooms deal with soap film, body oils, mildew, and minerals in the water. When those elements combine, grout can look dirty even in homes that are cleaned regularly.
A professional cleaning removes the existing buildup, but lasting results also depend on how the floor is maintained afterward. A properly selected grout sealer can help reduce absorption and make future cleanup easier. It is not a force field, and it will not eliminate maintenance, but it can provide useful protection for grout that is clean and fully dry.
A Practical Plan for Keeping Restored Grout Looking Better
After a successful restoration, simple habits protect the investment. Use a neutral floor cleaner rather than a soap-heavy product that leaves film behind. Sweep or vacuum dry debris regularly, especially near entrances. Wipe spills before they sit in the grout, and use entry mats where they make sense.
For rental homes and hospitality spaces, scheduling professional tile and grout cleaning before discoloration becomes severe can help maintain a cleaner presentation for guests. The right timing depends on traffic, pets, location, and how the space is used. A quiet guest bathroom may need less attention than a busy kitchen, pool entry, or lobby.
Avoid treating grout with a constant rotation of harsh DIY chemicals. Acidic products can damage certain surfaces, while bleach may lighten some areas unevenly and weaken grout over time. Steam can be helpful in limited situations, but it is not automatically appropriate for every tile assembly or grout condition. When there is uncertainty, a professional assessment is safer than experimenting across an entire floor.
Restoration Is About More Than a Cleaner Floor
The best result is not just lighter grout lines. It is the relief of seeing a room look cared for again without taking on an unnecessary replacement project.
For homeowners, restored grout can make a kitchen, bathroom, entryway, or lanai feel more comfortable and presentable. For property managers, it supports the appearance and lifespan of a valuable surface. For businesses, it helps create the clean, well-maintained impression customers expect before they notice anything else.
Jensen’s Cleaning approaches tile and grout with that restoration mindset: evaluate the surface honestly, use professional equipment and appropriate products, and recommend the practical next step. Sometimes that step is deep cleaning and sealing. Sometimes it is repair or replacement. Clear expectations matter either way.
If your tile still has life left but the grout makes the whole floor look tired, the right cleaning process may change what you see every day. A fair assessment can tell you whether restoration is the sensible path forward.