Tile Floor Restoration Guide for Hawaii Homes
Tile can look worn out long before it is actually worn out. In West Hawaii homes, vacation rentals, and commercial spaces, fine dust, humidity, tracked-in grit, cooking residue, and mineral buildup can slowly dull a floor and darken the grout. This tile floor restoration guide explains how to bring back a cleaner, more even appearance while protecting the materials underneath.
The goal is not simply to make tile look wet or shiny for a day. True restoration removes embedded soil, residue, and discoloration without damaging the tile surface, weakening grout, or leaving behind products that attract more dirt.
Start by Identifying What Is Making the Floor Look Old
A tile floor may look discolored for several different reasons, and the right solution depends on the cause. Surface dirt is the easiest issue. It usually collects in traffic lanes, around entryways, near kitchens, and in bathrooms. If the tile looks brighter after a damp mop but quickly becomes dull again, residue may be part of the problem.
Grout is often the bigger concern. Because grout is porous, it absorbs soil, spills, oils, and moisture over time. Even light-colored tile can look tired when the grout lines turn gray, brown, or uneven. In bathrooms and other damp areas, mildew can add dark spotting that ordinary mopping will not remove.
There can also be mineral deposits, especially around showers, exterior entries, and areas exposed to hard water. A chalky white film may look like dirt but needs a different approach. Before using a strong cleaner, make sure you know whether you are dealing with soil, soap residue, mineral scale, mildew, or a combination of all four.
Know Your Tile Before You Clean It
Not all tile should be treated the same way. Ceramic and porcelain tile are generally durable, but their finishes can still be dulled by abrasive powders, overly aggressive scrubbing, or harsh chemicals used repeatedly. Textured porcelain and slip-resistant tile are particularly good at holding dirt in their small surface grooves.
Natural stone requires more caution. Travertine, marble, limestone, and some slate floors can be damaged or etched by acidic products, including cleaners containing vinegar or citrus. An acid-based product may seem to brighten the surface at first, but it can leave permanent dull marks or weaken the stone’s finish.
Glazed tile, unglazed tile, stone, and specialty grout all respond differently. If you do not know what was installed, test any cleaner in an inconspicuous spot first. For high-value flooring, older installations, or natural stone, professional identification is the safer starting point.
A Practical Tile Floor Restoration Guide for Routine Care
Routine care prevents the gradual buildup that makes restoration more difficult. Begin by dry removing loose grit with a vacuum rated for hard floors, a soft broom, or a microfiber dust mop. This matters more than many people realize. Sand and fine debris can act like sandpaper under shoes, especially near entrances.
Next, use a pH-neutral cleaner appropriate for your floor type and a clean microfiber mop. Use enough solution to lift soil, but do not flood the floor. Excess water can soak into unsealed grout, move dirt into grout lines, and create problems around damaged caulk or loose tiles.
Rinse the mop frequently and change the cleaning water when it becomes cloudy. Mopping a large floor with dirty water often redistributes grime instead of removing it. For a kitchen or rental property with heavier use, two passes may help: one to loosen residue and one with fresh water to remove it.
Avoid treating every stain with bleach, vinegar, or a heavy-duty degreaser. These products may have a limited purpose in certain situations, but they are not all-purpose tile restoration tools. Bleach can discolor some grout and create strong fumes. Vinegar is not safe for many natural stone floors. Oily or sticky residue may require a specialized alkaline cleaner rather than more scrubbing.
Why Grout Usually Needs More Than Mopping
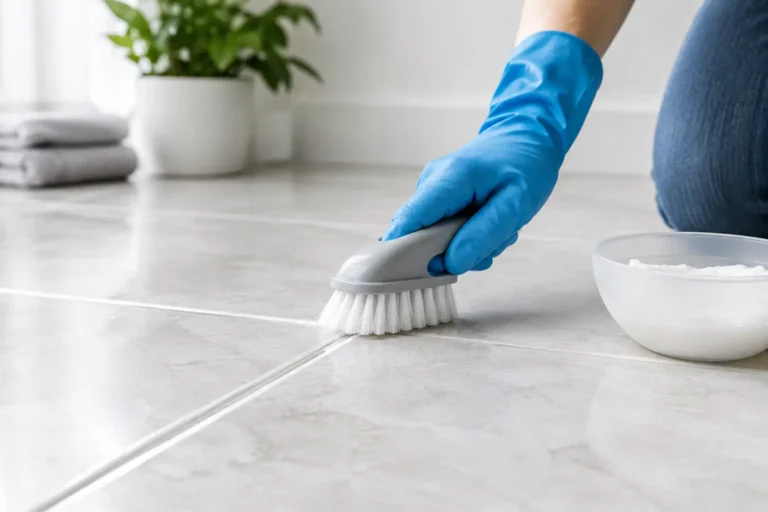
Grout lines sit lower than the tile surface and have a rough, porous texture. That is why they can stay dark even after the tile itself appears clean. A household grout brush and suitable cleaner can improve small areas, but hand scrubbing an entire room is time-consuming and may produce uneven results.
For moderate buildup, apply a grout-safe cleaner according to the label directions, allow proper dwell time, then agitate gently with a stiff nylon brush. Work in manageable sections so the cleaner does not dry onto the floor. Rinse thoroughly and remove the dirty solution with clean towels or a wet vacuum if available.
Do not use wire brushes or metal tools to scrape grout. They can scratch tile glaze, remove grout, and create edges where dirt gathers more easily. If grout is cracked, missing, soft, or pulling away from the tile, cleaning alone will not fix it. Those areas may need repair or regrouting before sealing.
When Professional Restoration Is the Better Choice
There is a point where more household cleaning does not produce better results. If the floor has years of embedded grime, dark grout throughout several rooms, sticky residue from previous products, mildew staining, or a heavily textured surface, professional equipment can make a meaningful difference.
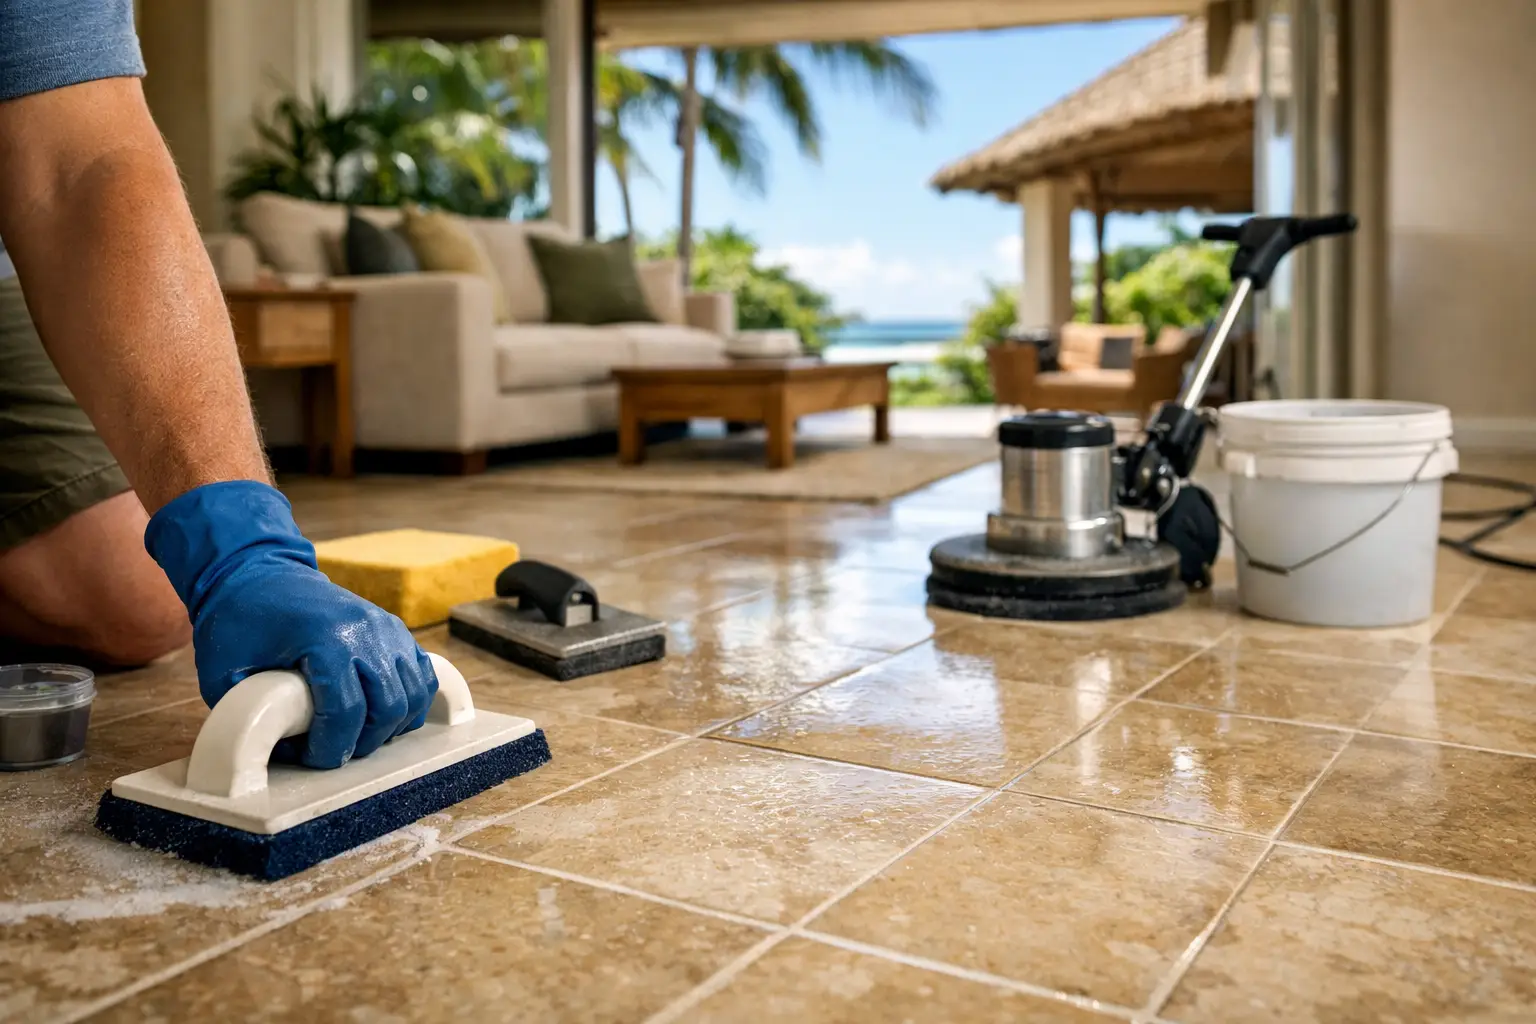
Professional tile and grout cleaning typically combines surface-appropriate products, controlled agitation, and hot-water extraction or specialized recovery equipment. The difference is not just stronger cleaning. Effective extraction removes loosened soil and contaminated moisture instead of spreading it across the floor or allowing it to settle back into porous grout.
This approach is especially useful for property managers turning over vacation rentals, restaurants and retail spaces with visible traffic lanes, and homeowners preparing for guests or a sale. It can also be a practical alternative to premature replacement when the tile is structurally sound but looks neglected.
Jensen’s Cleaning uses restoration-focused methods to help West Hawaii property owners renew tile and grout while treating each surface with appropriate care. A clear estimate before work begins helps customers understand whether deep cleaning, spot treatment, sealing, or repairs are the most sensible next step.
Consider Sealing After Deep Cleaning
Once grout is thoroughly cleaned and fully dry, a penetrating grout sealer may help slow future staining. Sealer does not make grout waterproof or maintenance-free, but it can reduce how quickly spills and soil absorb into the surface.
Whether sealing is worthwhile depends on the location. Kitchen floors, bathroom floors, entryways, and busy commercial areas often benefit most. In a low-traffic room, the improvement may be less noticeable. Sealing is also only as good as the surface preparation. Applying sealer over dirty grout can lock in discoloration and waste the product.
Use a sealer designed for the grout and tile in your home. Be careful to remove excess from tile surfaces as directed, particularly on textured tile. Some tile and stone products need specialized sealers, while glazed porcelain often does not need tile-surface sealing at all.
Protect the Results Between Deep Cleanings
Restored tile stays cleaner longer when the floor is protected from the soil that causes the problem in the first place. Use quality mats at entrances, but clean the mats regularly so they continue trapping dirt. Address spills quickly, especially cooking oil, wine, pet accidents, and bathroom products that can stain grout or leave a film.
In high-traffic areas, dry dusting several times a week is often more useful than occasional aggressive mopping. Use a pH-neutral cleaner for regular wet cleaning, avoid soap-heavy products, and make sure the mop head itself is clean. For showers and other moisture-prone tile, improving ventilation and drying splash zones can help limit mildew growth.
A tile floor does not need to be replaced just because it has lost its original brightness. With the right diagnosis, safe cleaning methods, and timely professional help when needed, many floors can look cleaner, healthier, and more welcoming for years. If you are unsure what your tile needs, begin with a small test area or ask for an honest assessment before using a product that could make the problem harder to correct.