Stone Tile Grout Repair That Protects Your Floors
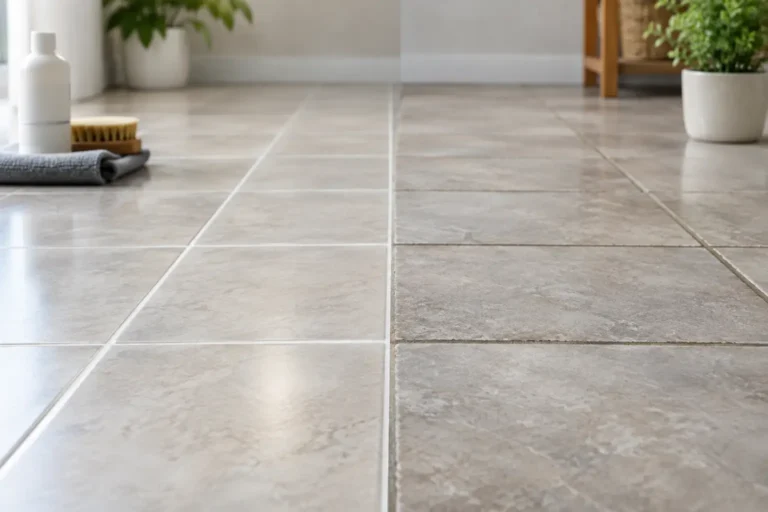
A floor can look worn out long before the stone itself is the problem. In many kitchens, showers, entryways, and lanai areas, the issue is the material between the tiles. Effective stone tile grout repair addresses cracked, missing, stained, or failing grout before moisture works its way below the surface and turns a manageable repair into a larger restoration project.
For West Hawaii homes and properties, grout takes a real beating. Sand, moisture, pool traffic, cooking residue, and everyday foot traffic settle into porous grout lines. In bathrooms and outdoor areas, humidity can encourage mildew growth. The right solution depends on whether the grout is simply dirty, has lost its protective seal, or has physically failed.
When Grout Needs Repair Instead of Cleaning
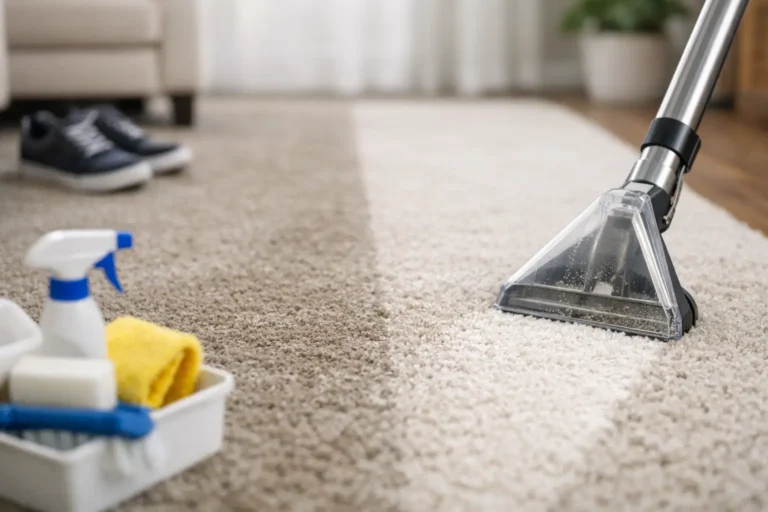
Deep cleaning can make a dramatic difference when grout is darkened by soil, body oils, soap film, or residue. But cleaning cannot replace material that has cracked away, crumbled, or separated from the tile edges. If grout is no longer intact, it cannot do its job of helping support the tile installation and limiting water intrusion.
Look closely at the grout lines when the floor or shower is dry. A few surface imperfections may be cosmetic, while repeated cracking in one area can point to movement below the tile. That distinction matters. Adding fresh grout over a recurring structural problem may improve the appearance temporarily, but it will not provide a lasting fix.
Common signs that repair is the better choice include:
- Grout that is missing, loose, powdery, or visibly crumbling
- Cracks that run through several grout joints or return after prior repairs
- Dark areas that stay damp, especially near showers, tubs, sinks, or exterior doors
- Tile edges that feel loose, sound hollow, or have begun to shift
If the grout is discolored but solid and smooth, professional cleaning and sealing may be enough. If the joints are open or damaged, repair should come first.
Why Stone Tile Requires Extra Care
Stone and ceramic tile are not treated the same way. Natural stone such as travertine, marble, limestone, slate, and some granite can be sensitive to acidic cleaners, harsh chemicals, aggressive scrubbing, and the wrong repair products. A cleaner that may be acceptable for one surface can etch, dull, or discolor another.
Grout also varies. Cement-based grout is common and porous unless protected with a quality sealer. Epoxy grout is more resistant to staining and moisture, but it has its own cleaning requirements and is not present in every installation. Older floors may have grout that was never sealed properly, while newer tile may have color-sealed joints that need a different maintenance approach.
This is why a one-size-fits-all repair kit is not always the bargain it appears to be. Matching grout color, texture, width, and performance to the existing installation takes care. On stone floors, the repair process should protect the tile faces as well as the joints.
The Right Process for Stone Tile Grout Repair
A durable repair starts with an honest assessment. The goal is not simply to fill a gap. It is to identify why the gap appeared, remove failed material safely, prepare the joint correctly, and use a compatible repair material.
Start With the Cause of the Damage
Grout cracks for different reasons. Seasonal movement, settling, moisture intrusion, a weak original installation, and heavy impact can all play a part. In showers, failed caulk at changes of plane, such as where a wall meets a floor or tub, can allow water behind the tile. In entryways and lanais, gritty traffic can wear down unprotected joints over time.
A professional should also distinguish grout joints from movement joints. Areas where tile meets a wall, countertop, tub, or another material often need flexible caulk rather than rigid grout. Using grout in those locations can lead to predictable cracking.
Remove Failed Grout Carefully
Loose or compromised grout needs to be removed rather than covered over. This step creates a clean, stable joint for the new material to bond properly. Rushing it can damage tile edges, especially with softer stone or narrow grout lines.
The depth of removal depends on the condition of the old grout and the repair material being used. The key is to remove enough damaged material to create a sound repair while avoiding unnecessary disturbance to surrounding areas.
Clean and Dry the Joint
New grout will not bond well to a joint filled with dust, soap residue, oil, or moisture. After removal, the joint should be thoroughly cleaned and allowed to dry. In wet locations, a repair should not be rushed while moisture is still present below the surface.
This part is especially relevant in Hawaii’s humid conditions. A shower that looks dry at the surface may still hold moisture in the grout bed or wall assembly. If there is an active leak or ongoing water intrusion, that problem should be corrected before cosmetic grout work is completed.
Apply a Compatible Repair Material
Color matching matters, but performance matters more. A repair material should be suitable for the joint width, the location, and the existing tile. A shower floor, a busy vacation rental entry, and a decorative stone backsplash do not face the same conditions.
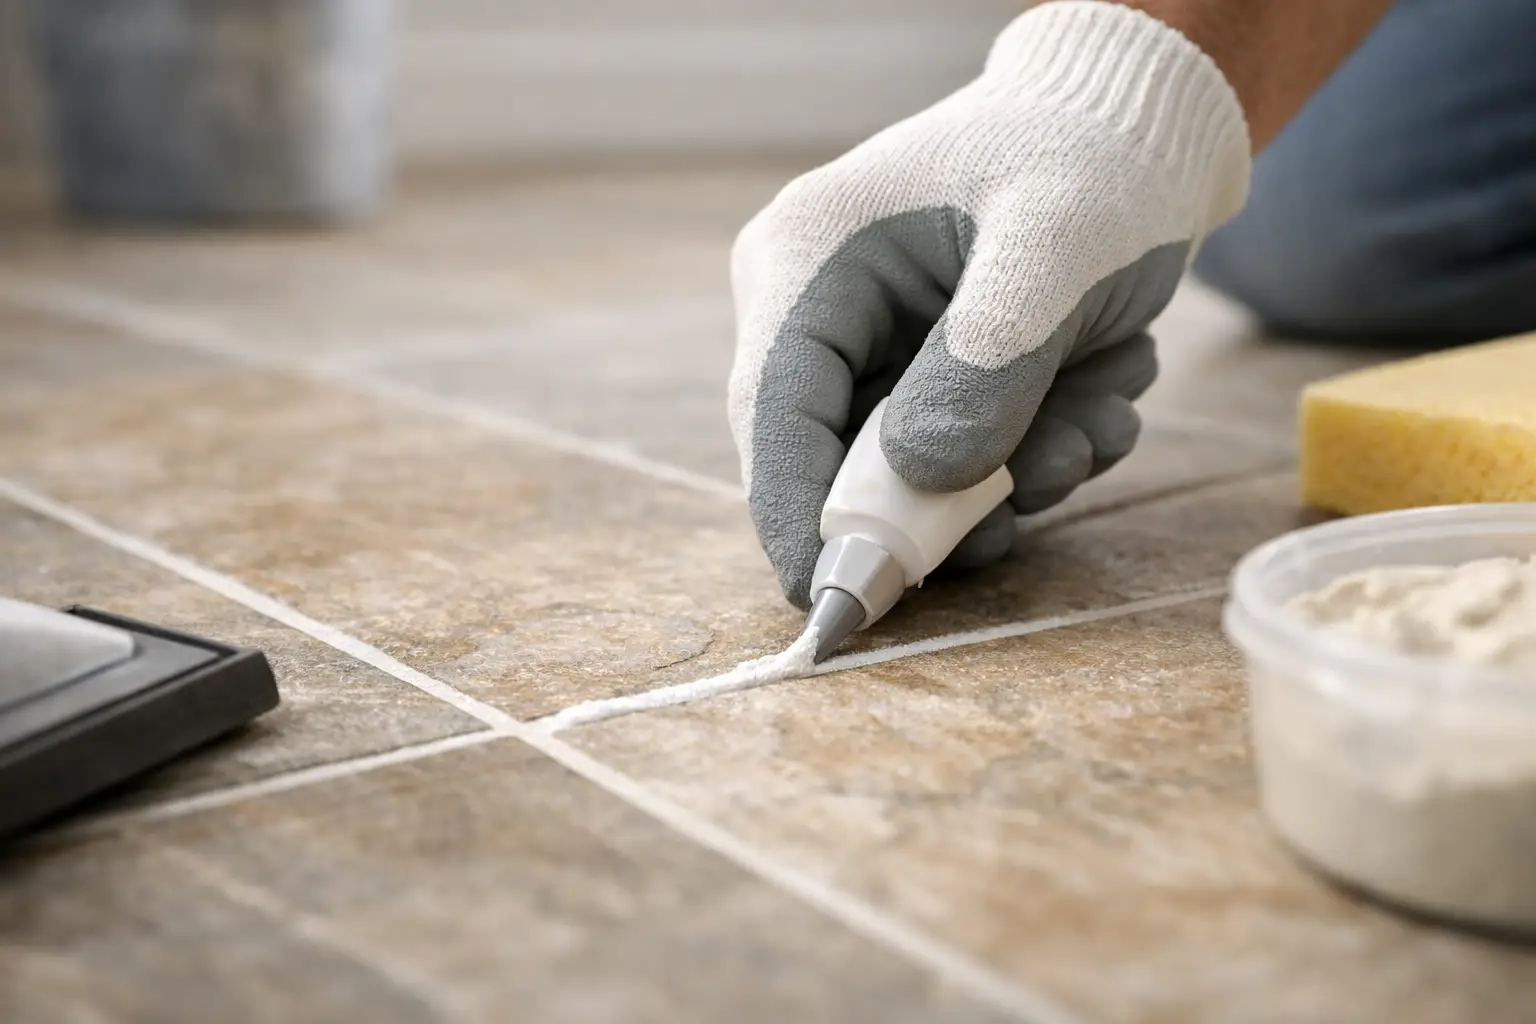
Fresh grout must be packed properly into the joint, tooled cleanly, and cleaned from the stone surface without leaving haze. After the appropriate curing period, many cement-based grout repairs benefit from sealing. The sealer helps reduce absorption and makes future cleanup easier, but it is not a substitute for regular cleaning.
When DIY Repairs Make Sense and When They Do Not
A small, isolated grout chip in a low-moisture area can be a reasonable DIY project for a careful homeowner. The work is more likely to go well when the stone is durable, the grout color is easy to match, and there is no sign of loose tile or water damage.
DIY repair becomes less predictable in showers, around pools, on natural stone, or across a larger area of failing grout. It is also wise to call a professional when cracks keep returning, tiles move underfoot, stains reappear shortly after cleaning, or there is a musty odor near a wet area. Those symptoms can point to a problem beyond the grout line itself.
Property managers may also want professional help when appearance and turnaround matter. A mismatched patch or grout haze can stand out quickly in a vacation rental, lobby, or guest bathroom. A properly assessed repair protects both the surface and the impression the property makes.
Cleaning and Sealing After Repair
Once grout is repaired, maintenance is what keeps it from looking neglected again. Sweep or vacuum hard floors regularly so abrasive grit does not grind into the joints. Use a cleaner made for the specific stone and grout, and avoid acidic or bleach-heavy products unless they are confirmed safe for the surface.
In showers, remove standing water when practical and address soap film before it becomes a hard mineral deposit. On floors, clean spills promptly, particularly oils, wine, coffee, and colorful foods that can stain porous grout. Exterior and lanai tile may need more frequent attention because wind-blown dust and moisture are part of daily life.
Sealer schedules vary. High-traffic areas and wet zones often need more frequent evaluation than a lightly used interior floor. A simple water test can offer a clue: if water quickly darkens the grout instead of beading briefly on the surface, it may be time to have the protection assessed.
Professional Help for Worn Stone and Grout
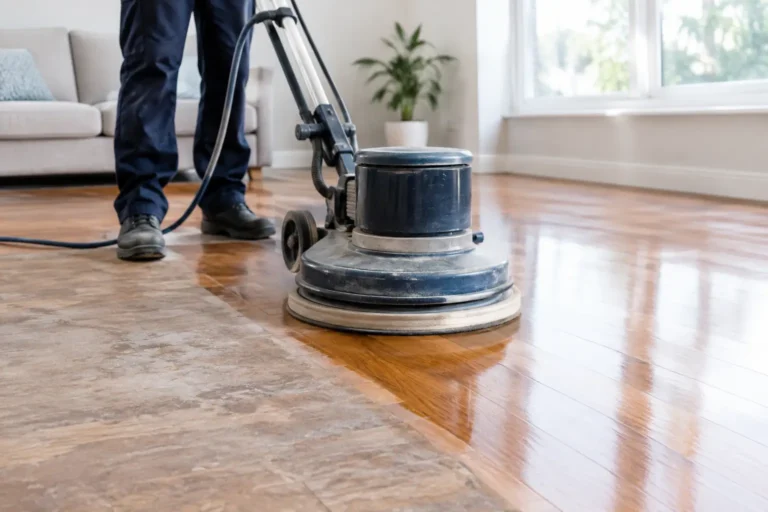
There is value in treating stone, tile, and grout as one system. Cleaning only the tile while leaving failed grout behind can make damage more noticeable. Repairing joints without properly removing embedded soil can leave the finished surface uneven in color. The best results come from matching the service to the actual condition of the floor or shower.
Jensen’s Cleaning helps homeowners, businesses, and property managers in West Hawaii renew hard surfaces with restoration-minded care. Our approach begins with the condition of your stone and grout, not a rushed, one-method solution. Fair, honest recommendations can help determine whether your surface needs deep cleaning, grout repair, sealing, or further evaluation.
A clean grout line does more than brighten a room. It makes early moisture issues easier to spot, reduces the places where soil can collect, and helps your stone tile keep the finished look you invested in. Address small failures while they are still small, and your floor or shower will have a much better chance of serving your property well for years to come.