How to Restore Dirty Grout Lines Right
Grout usually tells the truth before the tile does. A floor can be swept, counters can be wiped down, and the room may still look worn because the grout lines are dark, patchy, or permanently dingy. If you are wondering how to restore dirty grout lines, the good news is that many floors can be brought back with the right method. The key is knowing when you are dealing with surface soil, absorbed staining, mildew, or grout that is simply too far gone for a basic scrub.
That distinction matters. Grout is porous, which means it holds onto oils, tracked-in dirt, soap residue, food spills, and moisture more easily than the tile around it. In kitchens, that often means greasy buildup. In bathrooms, it can mean soap scum, mildew, and mineral deposits. In entryways and commercial settings, it is usually ground-in soil from foot traffic. The wrong cleaner can leave residue behind, bleach out color unevenly, or even weaken the grout over time.
Why grout lines get dirty so fast
Grout is not a smooth, sealed surface unless it has been properly protected and maintained. Even then, sealers wear down. Once that barrier fades, dirt settles into the grout instead of sitting on top of it. Mopping can make the problem worse if the mop water is dirty or if too much cleaner is used. Rather than lifting soil away, the mop can spread it into the joints.
Humidity also plays a role, especially in bathrooms and in tropical climates where moisture hangs around longer. Damp grout becomes an easy place for mildew and discoloration to develop. That does not always mean the grout is ruined, but it does mean a quick surface wipe usually will not solve it.
How to restore dirty grout lines without causing damage
Start with the least aggressive method that has a real chance of working. That approach protects both the grout and the surrounding tile, especially if you have natural stone nearby. Harsh acids and stiff metal brushes may seem effective in the moment, but they often create long-term problems.
Step 1: Dry clean first
Before using any liquid cleaner, remove loose dirt and grit. Vacuuming or dry sweeping helps prevent muddy residue from forming during scrubbing. This is especially important on floors where sand and fine debris can settle into every grout joint.
If you skip this step, you are basically mixing soil into a paste and pushing it deeper into the surface.
Step 2: Use the right cleaner for the type of buildup
For general dirty grout, a neutral or mildly alkaline tile and grout cleaner is usually the safest place to start. Spray or apply it generously, then give it time to dwell. Most people scrub too soon. Letting the product sit for several minutes gives it time to loosen embedded soil.
For bathroom grout with mildew or soap scum, you may need a cleaner made specifically for that type of buildup. For kitchen grout, grease-cutting power matters more. This is where store-bought all-purpose cleaners often fall short. They can make the floor smell clean without actually removing what is trapped in the grout.
It depends on the tile around the grout as well. Ceramic and porcelain are more forgiving. Natural stone is not. Acidic products that may be marketed for grout can etch stone surfaces and leave permanent dull spots.
Step 3: Scrub with a grout brush, not brute force
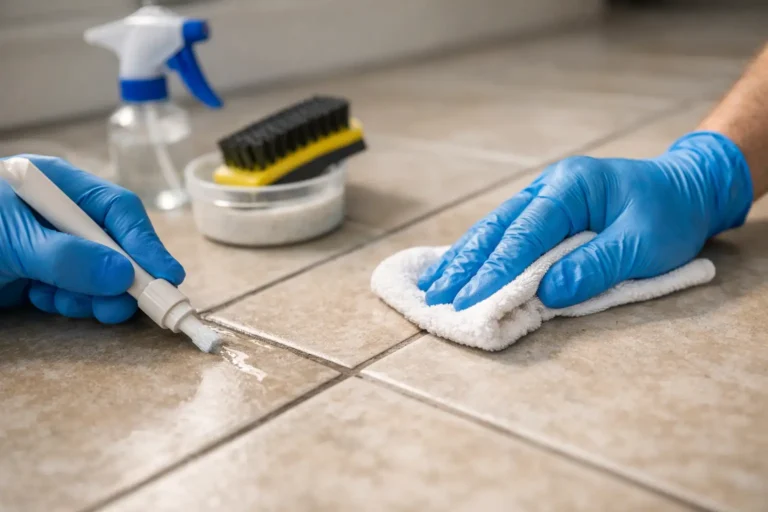
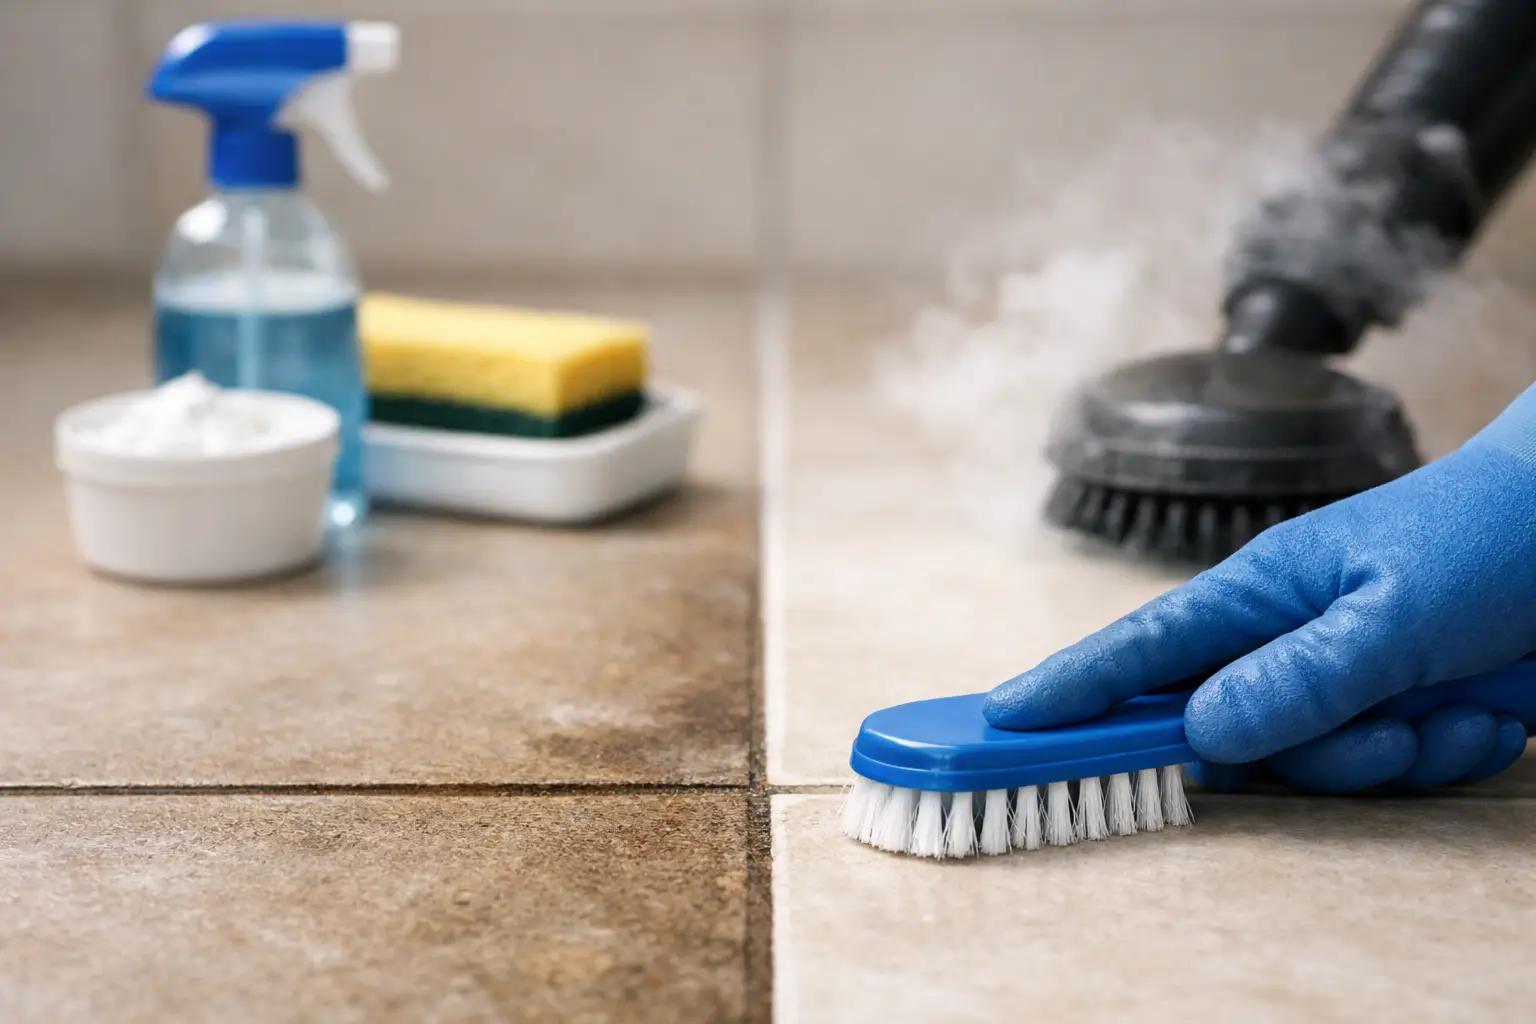
Use a medium-stiff nylon grout brush or a small cleaning brush designed for narrow joints. Work in sections so the cleaner does not dry out before you scrub. Short back-and-forth strokes usually work better than wide circular motions.
The goal is agitation, not aggression. If you have to bear down hard to see any improvement, the grout may be deeply stained rather than simply dirty. That is a sign to adjust your method, not just scrub harder.
Step 4: Rinse thoroughly
This is the part that gets overlooked most often. Once the soil is loosened, it needs to be removed completely. Use clean water and absorb the dirty rinse water with towels or a wet vacuum if available. If residue stays behind, the grout can dry looking just as dull as before.
On larger floor areas, poor rinsing is one reason DIY grout cleaning produces disappointing results. The dirt comes up, but it is not fully extracted.
When household mixtures help – and when they do not
A baking soda paste can help with light surface discoloration, especially in small bathroom areas. Hydrogen peroxide is sometimes useful for brightening light-colored grout. These methods can improve appearance, but they are not a cure-all.
They also come with limits. Homemade mixtures are slower, less consistent, and often not strong enough for years of buildup. Vinegar is another common recommendation, but it is not always a safe choice. On stone tile, it should be avoided. Even on other surfaces, repeated acidic cleaning can wear grout down over time.
If you are trying to restore white or light beige grout that has turned dark brown or black in traffic lanes, household remedies may barely make a dent. That usually points to deeply embedded soil, staining, or old sealer failure.
How to tell whether grout is dirty, stained, or damaged
This is where a lot of frustration starts. Dirty grout can often be restored with proper cleaning. Stained grout may need color sealing or regrouting. Damaged grout needs repair before appearance can really improve.
A few signs help separate the problem. If the grout lightens noticeably when cleaned while still wet, but dries back to dark, residue or embedded soil is still present. If one section stays permanently discolored despite repeated cleaning, staining is more likely. If the grout is cracking, crumbling, or missing in spots, cleaning alone will not restore it.
Mildew is another category. Surface mildew can often be removed. If moisture is consistently getting underneath the tile or into failed grout joints, the issue may keep returning until the source is addressed.
Professional cleaning makes a bigger difference than most people expect
There is a reason tile and grout can look dramatically better after professional service even when the owner has already scrubbed it. The difference is usually not just stronger chemistry. It is the combination of correct products, agitation, heat, pressure control, and extraction.
Professional tile and grout cleaning is designed to pull contamination out of the grout instead of spreading it around. On heavily used residential floors, vacation rentals, restaurant spaces, and commercial entries, that extraction step is what changes the result. It is also safer for delicate surfaces when done by trained technicians who understand the material they are cleaning.
In West Hawaii, this matters even more in spaces dealing with red dirt, beach sand, humidity, and constant foot traffic. Floors can look worn long before they are ready to be replaced. Restoration-focused cleaning helps extend the life of the surface instead of pushing you toward a much bigger expense too soon.
Should you seal grout after cleaning?
Yes, in many cases. If the grout has been cleaned successfully and is fully dry, sealing helps slow down future staining and makes maintenance easier. It is not a magic shield, and it does wear off, but it gives you a better chance of keeping the grout lines closer to their original color.
Color sealing is another option when grout is permanently stained but structurally sound. That process can restore a more uniform appearance and provide added protection at the same time. It is not right for every floor, but for some properties it is a practical alternative to regrouting.
How to keep grout cleaner longer
The best maintenance is simple and consistent. Vacuum or dry mop regularly so grit does not settle into the joints. Use a pH-appropriate cleaner instead of heavy soap-based products. Change mop water often. In bathrooms, reduce moisture where you can with ventilation and regular wipe-downs.
If you manage a busy home, rental property, or business, periodic professional cleaning can keep buildup from reaching the point where the floor always looks dirty no matter how often it is cleaned.
Grout does not have to stay dark just because it has been neglected for a while. With the right cleaning method, and professional help when the buildup is beyond household tools, many tile surfaces can look cleaner, brighter, and far more cared for than they do today. Sometimes the biggest change in a room is not replacing the floor. It is finally restoring what is already there.