Best Methods for Grout Whitening That Last
A clean tile floor can still look neglected when the grout lines are dark, yellowed, or blotchy. The best methods for grout whitening depend on what caused the discoloration in the first place – tracked-in soil, soap residue, mildew, mineral buildup, or old cleaning products left behind. Treating every grout problem with the same harsh cleaner can waste time and, in some cases, cause lasting damage.
For homes, vacation rentals, and commercial spaces in West Hawaii, grout also faces sand, humidity, bare feet, sunscreen residue, and frequent traffic. A careful approach can restore a brighter, more even appearance while helping protect the tile installation beneath it.
Why grout loses its white appearance
Most grout is cement-based and porous. Even when it was sealed after installation, that protection wears down over time. Tiny pores hold onto dirt, oils, spills, and moisture. White grout makes this buildup especially visible, but the problem is not always surface dirt.
In kitchens, grease and food residue can make grout look gray or brown. In showers, body oils, soap scum, hard-water minerals, and mildew can create yellow, orange, pink, or black staining. Entryways and living areas often develop dark traffic lanes where grit is ground into the grout. The right whitening method starts with identifying which kind of buildup is present.
It also helps to set realistic expectations. Cleaning can remove soil and many stains, but grout that has permanently changed color, cracked, eroded, or absorbed pigment may need color sealing or repair to look uniform again.
Best methods for grout whitening at home
Begin with dry soil removal
Before applying any cleaner, vacuum or sweep the floor thoroughly. This step sounds basic, but loose sand and grit can turn into an abrasive paste once water is added. On textured tile, use a vacuum with a suitable hard-floor setting or a soft brush attachment to pull debris from edges and grout joints.
Then mop lightly with clean water or a pH-neutral tile cleaner. Avoid soaking the floor. The goal is to remove surface residue so the grout cleaner can reach the embedded soil rather than sit on top of it.
Use an alkaline grout cleaner for grease and traffic soil
For gray, brown, or dingy grout in kitchens, hallways, and main living areas, an alkaline tile-and-grout cleaner is often the most effective starting point. These products are made to break down oily, organic soil that ordinary mopping leaves behind.
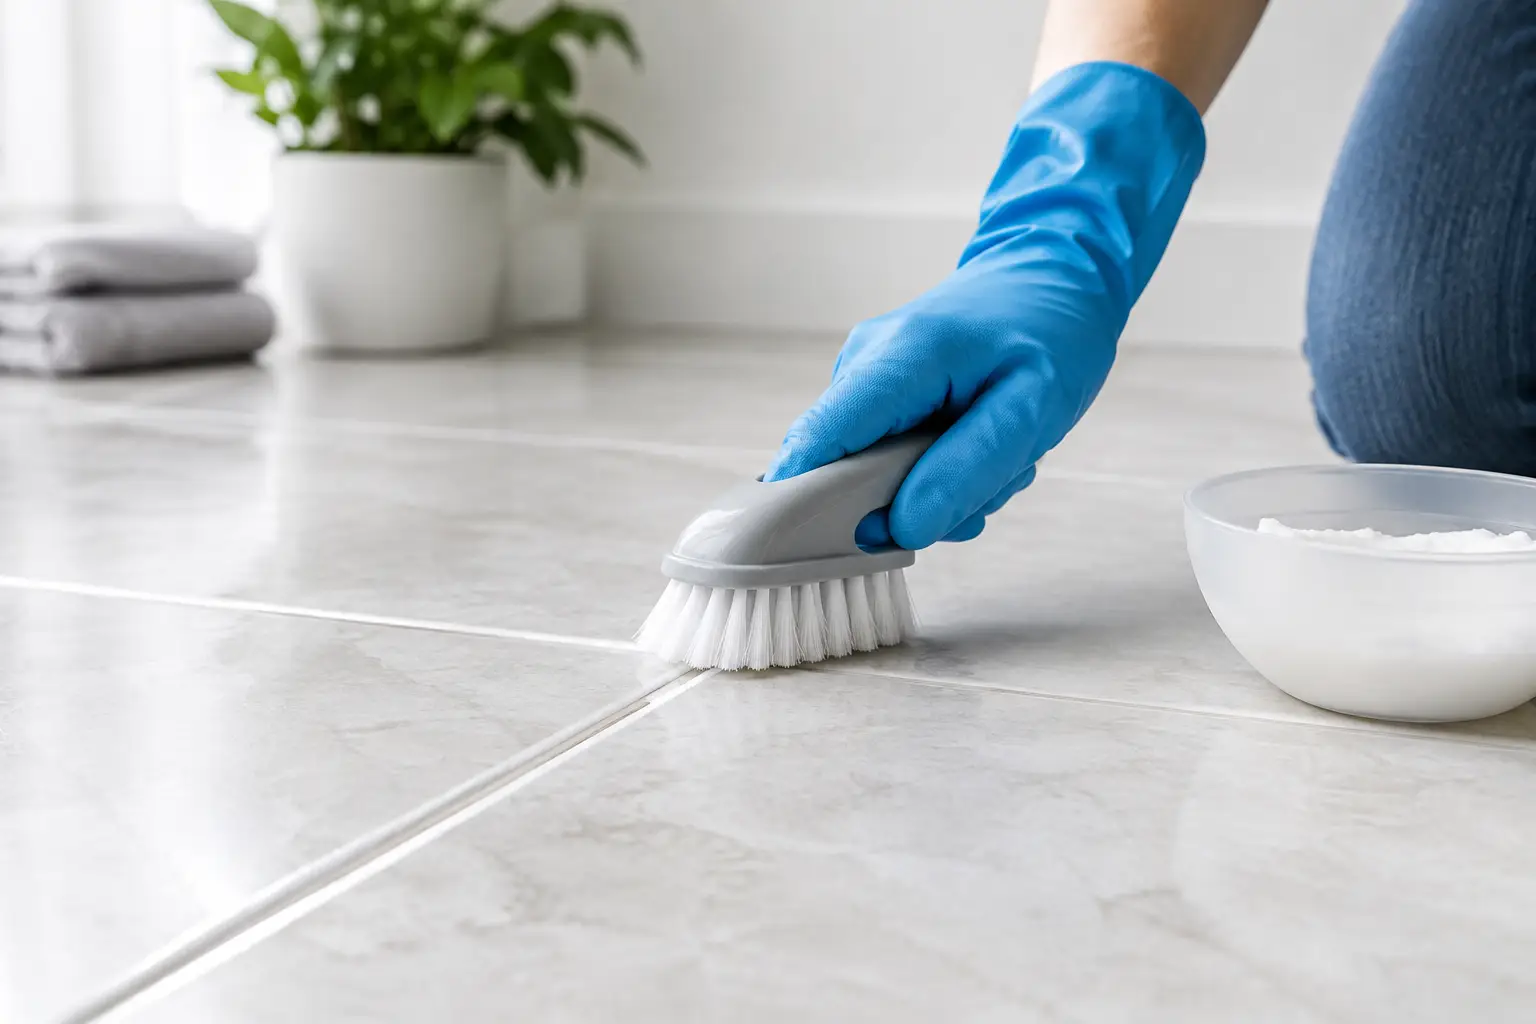
Apply the cleaner according to the label, working in a manageable section instead of coating the entire room. Give it the recommended dwell time, then scrub the grout lines with a stiff nylon grout brush. A nylon brush provides cleaning action without the rust, scratches, and stray metal fibers that can come from steel wool or wire brushes.
Rinse the area well and pick up the dirty solution with towels, a wet vacuum, or a clean mop. This removal step matters. If loosened soil dries back into the grout, the lines may still look dull after all that work.
Choose oxygen bleach for many light-colored grout stains
Oxygen bleach is a practical option for whitening light grout affected by organic staining, general dinginess, and some mildew-related discoloration. Unlike chlorine bleach, oxygen bleach works more gradually and does not produce the same strong fumes. It is still a chemical cleaner, so wear gloves, provide ventilation, and follow the product directions carefully.
After mixing and applying it as directed, allow enough contact time for the cleaner to work. Agitate with a nylon brush, rinse completely, and let the grout dry before judging the result. Wet grout often looks darker than dry grout, which can make a successful cleaning look less effective than it really is.
Oxygen bleach is not a cure-all. It may have limited results on rust, mineral deposits, deep oil contamination, or stains that have penetrated far below the surface.
Use a paste treatment for small, stubborn spots
For a few isolated stains, a paste made for grout cleaning can be more controlled than flooding the floor with a stronger solution. Some homeowners use a baking-soda paste with a small amount of hydrogen peroxide on compatible ceramic or porcelain tile and light grout. Apply it only to the affected joints, let it sit briefly, gently scrub, and rinse thoroughly.
Test this method in an inconspicuous spot first. Do not assume a treatment that works on one tiled surface is safe for another. Natural stone, colored grout, decorative tile, and older installations can react differently.
Reserve steam for suitable tile and sound grout
A quality steam cleaner can help loosen grime without relying heavily on chemicals. It can be useful on ceramic or porcelain tile when the grout is in good condition and the manufacturer allows steam cleaning. Use a grout brush attachment, keep the tool moving, and wipe away released soil promptly.
Steam is less suitable where grout is cracked, missing, soft, or failing. Pushing heat and moisture into compromised joints can worsen an existing issue. It also will not remove every type of stain, particularly mineral deposits or discoloration caused by grout deterioration.
Cleaners and shortcuts to approach carefully
Chlorine bleach is often the first product people reach for, but it is rarely the best long-term answer for whitening grout. It can make surface discoloration look better for a short time while doing little to remove embedded grime. Repeated use may weaken cement-based grout, create strong fumes, and leave a residue that attracts more soil.
Acidic cleaners, including vinegar, can be useful for certain mineral deposits on specific surfaces, but they should never be used casually. Acids can etch natural stone and may damage or weaken cement grout. Never mix bleach with vinegar, ammonia, acids, or any other cleaner. Dangerous fumes can result.
Skip harsh abrasives such as steel wool, aggressive scouring powders, and stiff metal brushes. Scratched tile glaze and eroded grout collect soil more easily, turning a short-term fix into a continuing maintenance problem.
When professional grout whitening is the better choice
DIY cleaning is reasonable for routine buildup and small areas. Professional service becomes a smarter investment when grout remains dark after careful cleaning, when a large floor needs consistent results, or when the tile is natural stone, delicate, or expensive to replace.
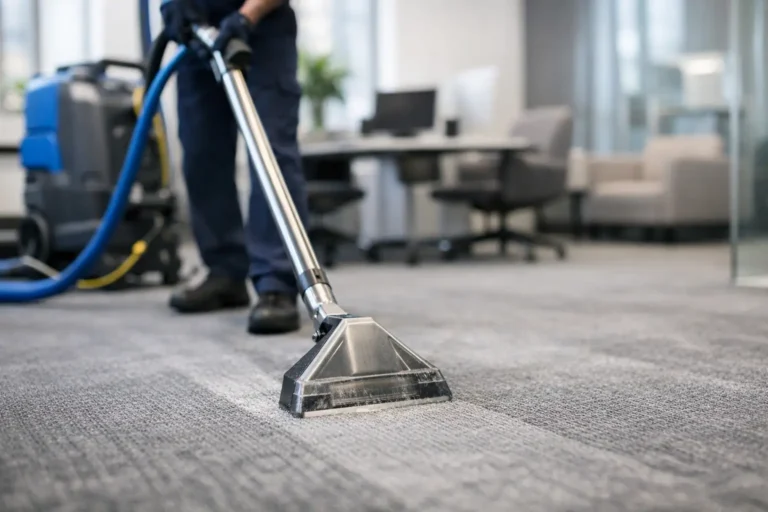
A trained tile and grout technician can identify whether the issue is surface soil, failed sealer, mineral buildup, mold or mildew, dye transfer, or grout damage. Professional equipment provides controlled agitation, hot-water extraction, and recovery of the dirty solution. That last part is especially valuable because it removes what has been pulled from the grout instead of spreading it across the floor.
For deeply stained but structurally sound grout, color sealing may be the most dependable restoration option. A color seal can create an even, renewed appearance and add a protective barrier against future staining. It is not the same as simply painting grout. Proper preparation and product selection determine whether the finish bonds well and wears evenly.
Jensen’s Cleaning helps homeowners, property managers, and businesses assess the condition of their tile and grout before recommending a practical restoration path. Sometimes a deep clean is enough. Other times, sealing or targeted repair gives the longer-lasting result.
Keep bright grout from turning dingy again
The easiest grout to whiten is grout that has not been allowed to absorb months of residue. Sweep or vacuum high-traffic tile regularly, especially near entrances. Use mats where people come in from outdoors, and clean up spills before they have time to soak into the joints.
For routine mopping, choose a pH-neutral cleaner and use the proper dilution. Too much cleaner can leave a film that makes floors look cloudy and attracts new dirt. Change mop water often, or use clean microfiber pads, so you are not redepositing grime into the grout lines.
In bathrooms, run the exhaust fan during and after showers, squeegee excess water from tile walls when practical, and address persistent mildew promptly. If grout has been professionally cleaned or color sealed, follow the maintenance guidance provided for that specific surface.
A brighter floor is not just a cosmetic upgrade. Clean, well-maintained grout supports the appearance and longevity of the entire tile installation. Start with the gentlest method suited to the stain, give the area time to dry before evaluating it, and bring in experienced help when the condition calls for more than surface cleaning.